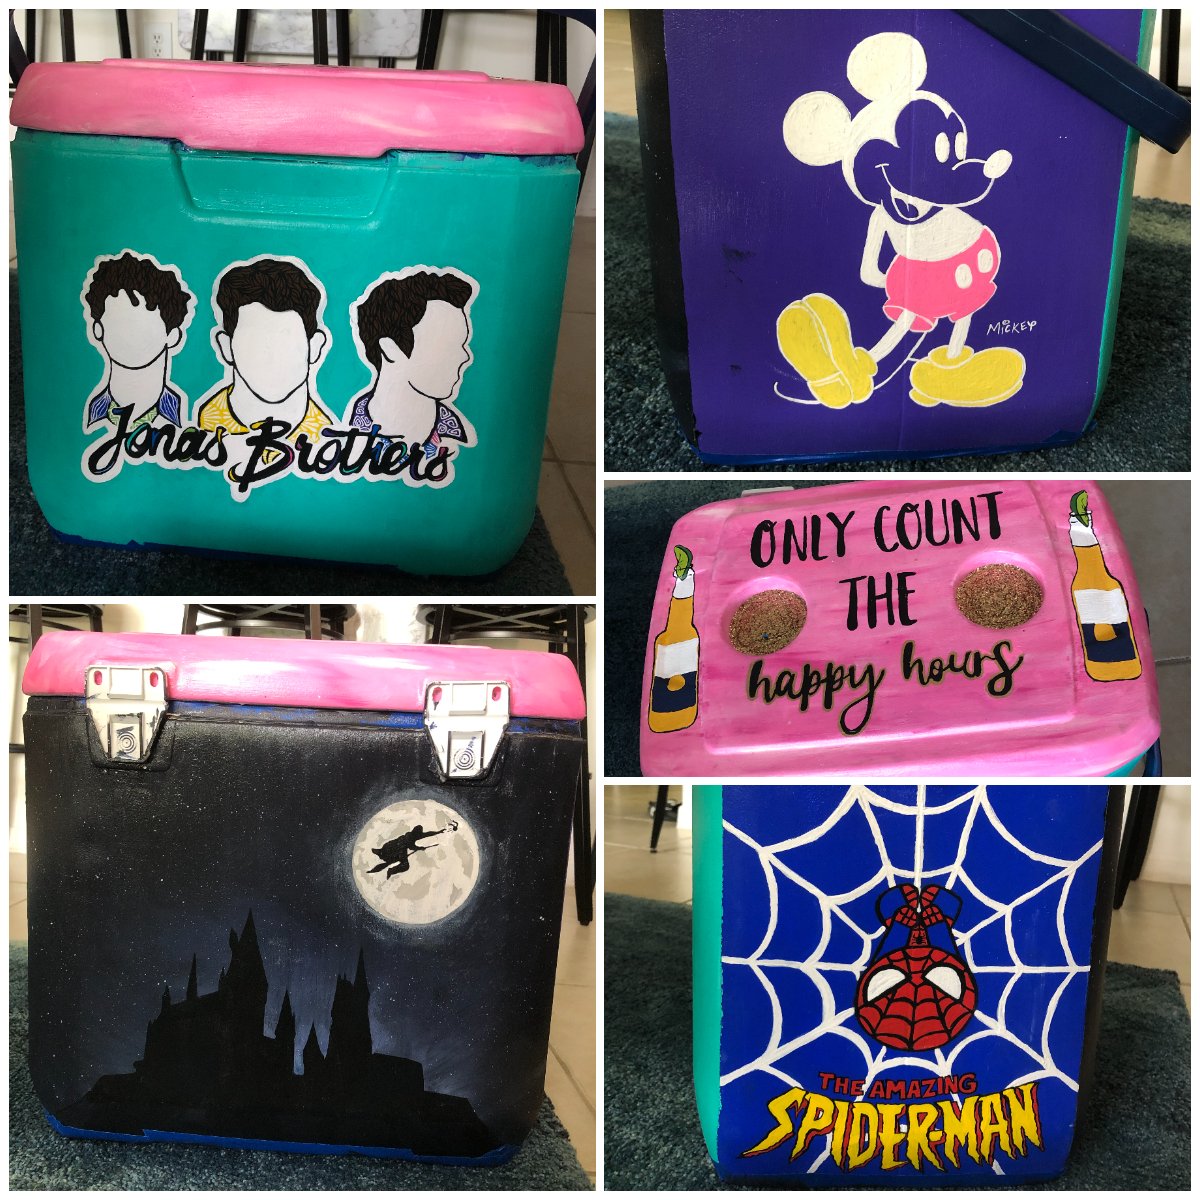
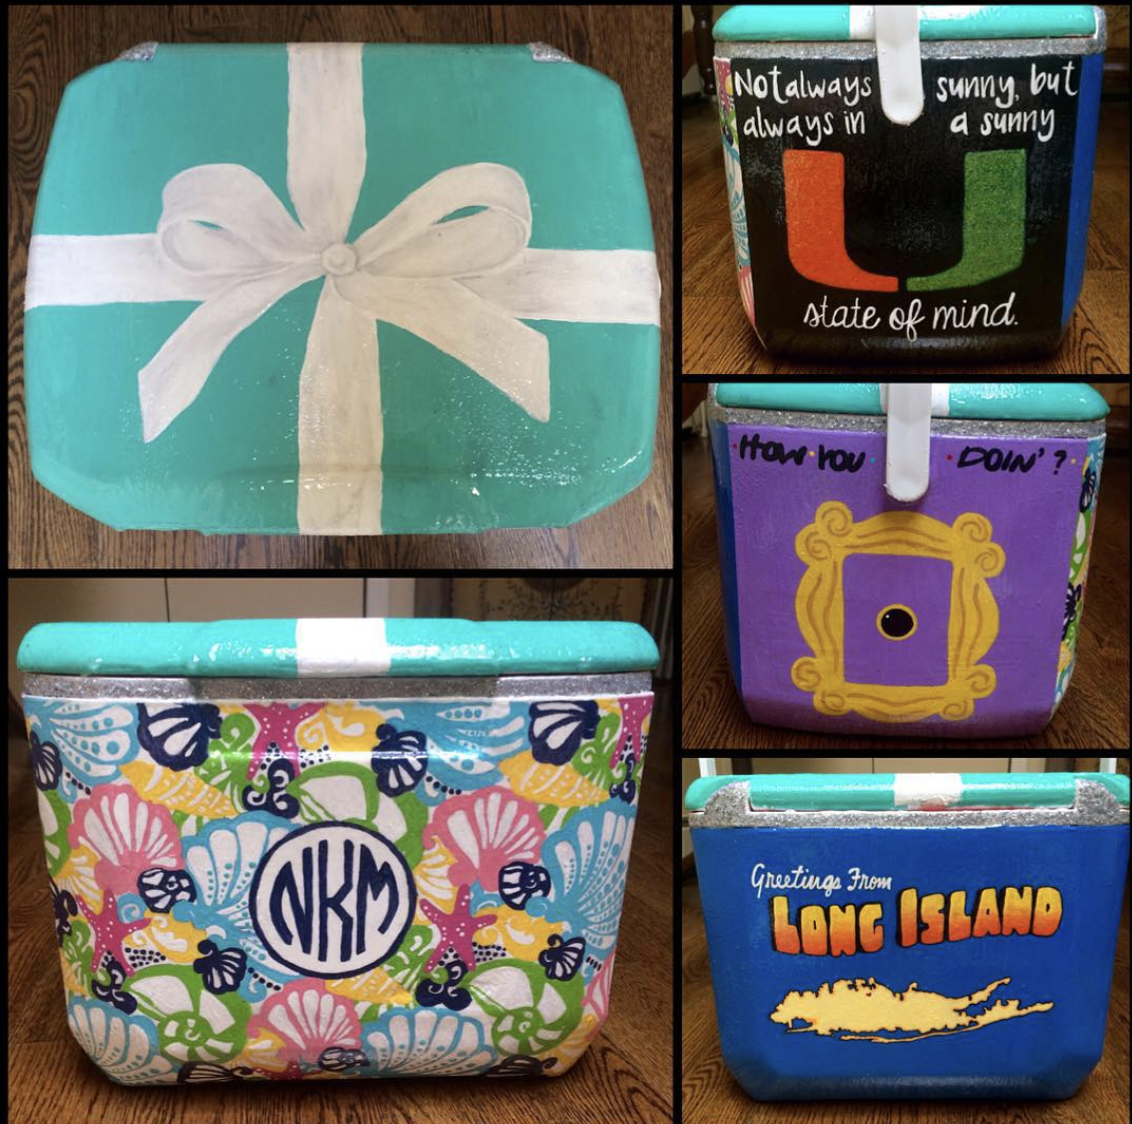
Make This: Custom Cooler
Are you up to the challenge of painting a cooler? Click this post to find out everything you need to know. This process takes a lot of patience but the payoff is worth it!
What You'll Need:
- A Cooler
- Sandpaper (2 different grits)
- Spackle (Used to fill in any crevasses on the cooler, NOT A REQUIRED STEP)
- Primer that Adheres to Plastic (Krylon 2X always work great for me)
- Mod Podge
- Acrylic Paints
- Epoxy Clear Resin
Steps:
Prepping:
1. OPTIONAL: Fill in all of the grooves in the cooler (logos usually) with spackle. I say this step is optional because you can just paint on the grooves. The spackle just makes each surface completely flat. If you do choose to spackle, make sure it is completely dry before continuing.
2. Sand each side with your "rougher" sandpaper (recommend 60-80 grit)
*The purpose of sanding is to remove the protective layer that comes on each cooler. If you do not sand the chances are very high that the paint will chip off your cooler.
3. Sand each side again with your "fine" sandpaper (recommend 110-120 grit), this will get rid of a lot of the scratches and will smooth out the sides.
4. Prime each side. Make sure this dries before proceeding.
*Make sure each side is equally covered with a generous amount of primer. Doing 2 coats is not a bad idea.
Painting:
5. Paint 2 layers of your base color. Between each layer (once completely dry) apply a layer of mod podge. This will help protect the paint from chipping.
6. Paint the design of your choice on each side.
Sealing:
7. When completed and TOTALLY DRY do 1-2 layers of mod podge over each design.
*If the paint is not dry when you apply the mod podge the paint will smear and ruin the entire side so be patient!
8. Follow the instructions EXACTLY that are on the box of epoxy that you purchased.
*Make sure to do this in a well ventilated area. Have trash bags or a tarp you can throw away placed on the floor because this process gets messy.
*Any paint brushes you use to help spread the resin will have to be thrown away so make sure to use on you do not care about.
9. Allow the cooler to sit for 1-3 days to completely dry before using.
* Wait several hours before even touching the cooler after applying the epoxy. If touched while it is still wet you will most likely smudge the sealant and that is basically impossible to fix.
10. Congratulations! Time to use your new customized cooler!